Mastering the Art of Wraps: A Step-by-Step Guide
Are you ready to elevate your sandwich game? In this blog post, we’ll dive into the delicious world of wraps! Whether it’s for a quick lunch or a fancy dinner gathering, learning to make the perfect wrap can impress your friends and family. This guide will take you through the essential steps and tips shared in our enlightening YouTube video on how to create scrumptious wraps with ease. So grab your ingredients and let’s get started!
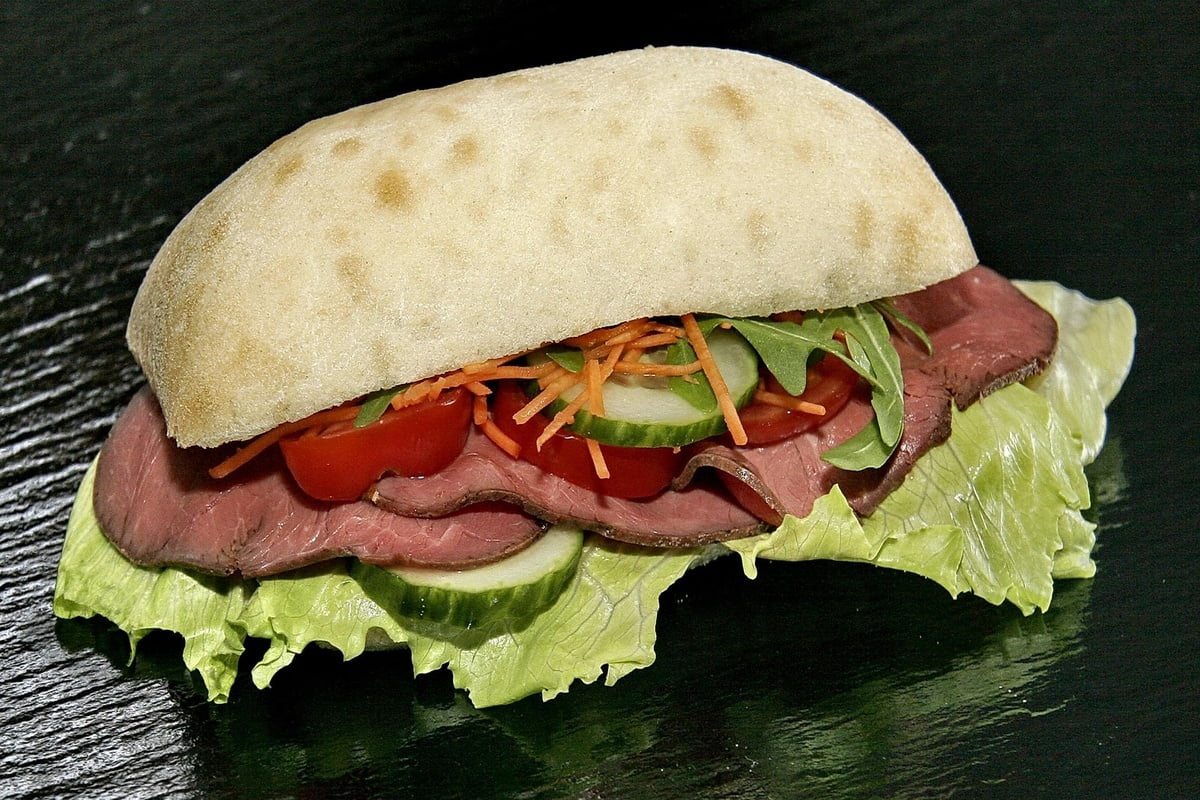
The Basics of Wraps
Wraps are versatile and can be filled with all sorts of delicious ingredients. The process is straightforward – once you’ve mastered the basics, you can experiment with different flavors and combinations. Here’s what you need to know:
- Types of Wraps: You can choose from various wraps like spinach, tomato basil, or even whole wheat.
- Portion Control: Stick to the formulas – typically, a footlong portion of protein and a six-inch portion of veggies.
- Cheese Matters: Remember, it’s only two slices of cheese for a full wrap, regardless of the meat quantity.
Gather Your Ingredients
Before you begin, make sure you have all the necessary ingredients ready:
- Wraps: Spinach or tomato basil
- Protein: Turkey, ham, steak, or your choice of meat
- Cheese: Two slices per wrap
- Vegetables: Lettuce, tomatoes, onions, cucumbers, peppers, etc.
- Sauces: Mustard, mayonnaise, guacamole, or your preferred condiments
Step-by-Step Instructions to Make a Perfect Wrap
1. Choose Your Wrap
Start by selecting either a spinach or a tomato basil wrap. Place it flat on deli paper, which will help in rolling later.
2. Portion Your Protein
For a balanced wrap, you’ll need a footlong portion of protein. If you’re using turkey, that means eight slices!
3. Add Cheese
Next comes the cheese – only two slices. This distinction is crucial; many novice wrap makers tend to overdo it, thinking they should add more cheese. Keep it simple!
4. Layer Your Vegetables
Now it’s time to pile on the veggies. Remember, only use a six-inch portion to avoid overflow. Here’s a quick guide on portions:
- Lettuce: 2-3 leaves
- Tomatoes: 2-3 slices
- Cucumbers: 2-3 slices
- Onions: 5 slivers
- Pepper: 3-4 strips
Be cautious with strong flavors like pickles and hot peppers. Always ask customers if they want extra!
5. Sauce It Up
Add your favorite sauces, but remember to keep them minimal. A few stripes of mustard or mayonnaise suffice. Too much moisture can lead to a soggy wrap!
6. Wrapping Technique
Here’s where the magic happens! Follow these steps:
- Fold in the Sides: Start by folding both sides of the wrap inward.
- Roll it Up: Lift the bottom of the wrap and roll it over the fillings. Be assertive – don’t worry about tearing!
- Secure the Wrap: Continue rolling until everything is tucked in tightly.
- Cut in Half: A perfect wrap deserves to be cut in half for easy handling.
Special Considerations for Different Fillings
If you’re making a steak wrap, the process is slightly different. Here’s what to keep in mind:
- Heating Meat: Use a designated area (often referred to as a “boat”) to heat the meat properly without drying out the wrap.
- Toasting: Avoid toasting the wrap itself, as this makes it too brittle to roll.
- Guacamole: It adds a creamy texture and complements steak well, so offer it as an optional filling!
Final Presentation
Once your wrap is complete, consider how you’ll present it. Use parchment or wax paper to wrap it up nicely, and don’t forget to include a napkin for the messier eaters!
Conclusion: Key Takeaways
Making a perfect wrap is not just about throwing ingredients together; it’s an art that requires attention to detail and a bit of technique. Remember the following:
- Stick to the portion guidelines for a balanced wrap.
- Don’t hesitate when rolling – confidence is key!
- Customize to your taste while maintaining a consistent wrapping method.
Now that you’re equipped with all these tips and techniques, it’s time to get wrapping! Happy cooking, and enjoy your delicious creations!
For more exciting recipes and cooking tips, be sure to follow our blog and stay updated!